

Oh, that moment when you bite into a slice of truly *perfect* tart cherry pie? It’s pure magic. This is The Best Tart Cherry Pie You Will Ever Make, a recipe I’ve tweaked for years until it was just right – flaky crust, that incredible balance of sweet and tangy filling. My grandma used to make a pie like this, and it was always the star of our summer picnics.
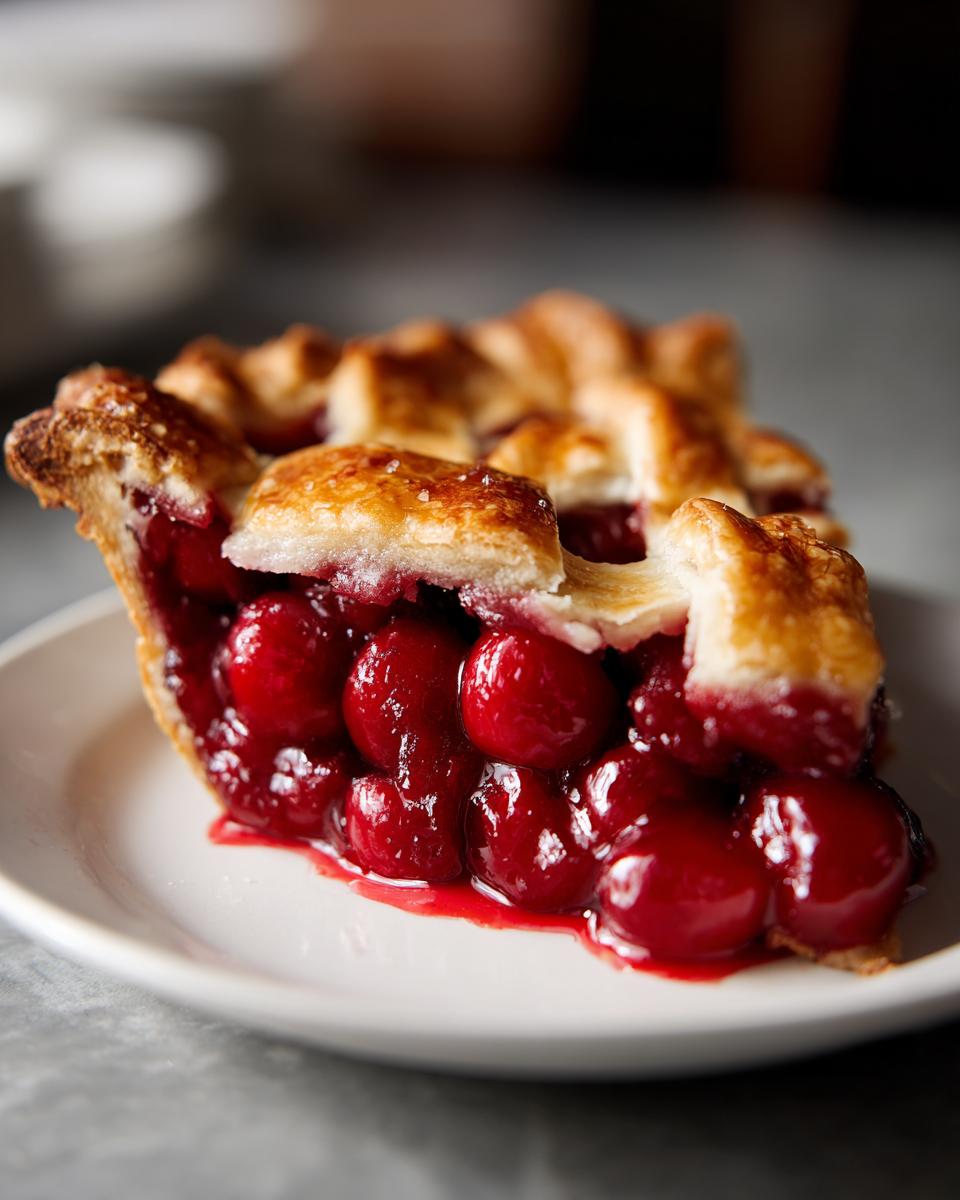
What makes this one so special? It’s seriously easy to whip up, even if you’re a pie-making newbie, and the flavor is just out-of-this-world. Get ready for a dessert that will have everyone asking for seconds (and the recipe, of course!). Let’s get baking!
Why You’ll Love The Best Tart Cherry Pie You Will Ever Make
- It’s shockingly simple to put together, even for a beginner baker!
- That amazing sweet-tart balance in the filling is pure cherry perfection.
- The crust? Oh, it’s wonderfully flaky and just melts in your mouth.
- It tastes like pure nostalgia, reminding you of grandma’s kitchen.
Ingredients for The Best Tart Cherry Pie You Will Ever Make
Okay, so for this masterpiece, you’re going to need a good double crust – my recipe makes an awesome one, but feel free to use your favorite store-bought if you’re in a pinch. And for the cherries, I swear by using tart ones; they bring that perfect zing that cuts through the sweetness. Frozen is totally fine too, just don’t thaw them!
- 1 recipe for double pie crust (enough for a 9-inch pie)
- 6 cups fresh or frozen tart cherries, pitted (seriously, no pits!)
- 3/4 cup granulated sugar (you can add a little more if your cherries are super tart)
- 1/4 cup cornstarch (this is our thickener, don’t skip it!)
- 1 tablespoon fresh lemon juice (for brightness!)
- 1 teaspoon almond extract (this stuff is pure magic for pie flavor)
- 1 tablespoon butter, cut into small pieces (little dollops of goodness)
- 1 egg, beaten (for a shiny, golden egg wash)
- 1 tablespoon granulated sugar (for that pretty sparkle on top)
Step-by-Step Instructions for The Best Tart Cherry Pie You Will Ever Make
Step 1: First things first, let’s get that oven preheating to a nice 400°F (200°C). While it’s warming up, I like to get my pie plate ready. Lay one of your pie crusts right into the plate, gently pressing it into the bottom and up the sides. Don’t worry if it looks a little crinkled, that just adds character!
Step 2: Now for the star of the show: the filling! In a big ol’ bowl, toss your tart cherries (make sure they’re all pitted, trust me on this one!) with the granulated sugar, the cornstarch – this is what makes our filling nice and thick – and that zingy lemon juice. Give it all a gentle stir. I find that gently stirring ensures the cornstarch coats every cherry, which prevents lumps. Then, pour in that magical almond extract. Oh, the smell already!
Step 3: Carefully pour that glorious cherry mixture into your crust-lined pie plate. Then, dot the top with those little pieces of butter. They’ll melt down and make everything extra luscious.
Step 4: Time for the top crust! Lay your second pie crust over the filling. Now, trim any extra dough hanging over the edges and crimp it all together with your fingers or a fork. It’s like giving your pie a cozy hug! Don’t forget to cut a few vents in the top crust with a knife – this helps the steam escape so your pie doesn’t get too shy and puff up weird.
Step 5: For that beautiful golden-brown finish, brush the top crust all over with the beaten egg wash. Then, sprinkle that extra tablespoon of sugar on top. It gives it a lovely little crunch and sparkle. You can learn more about preventing a soggy bottom here, which is super important for a perfect pie!
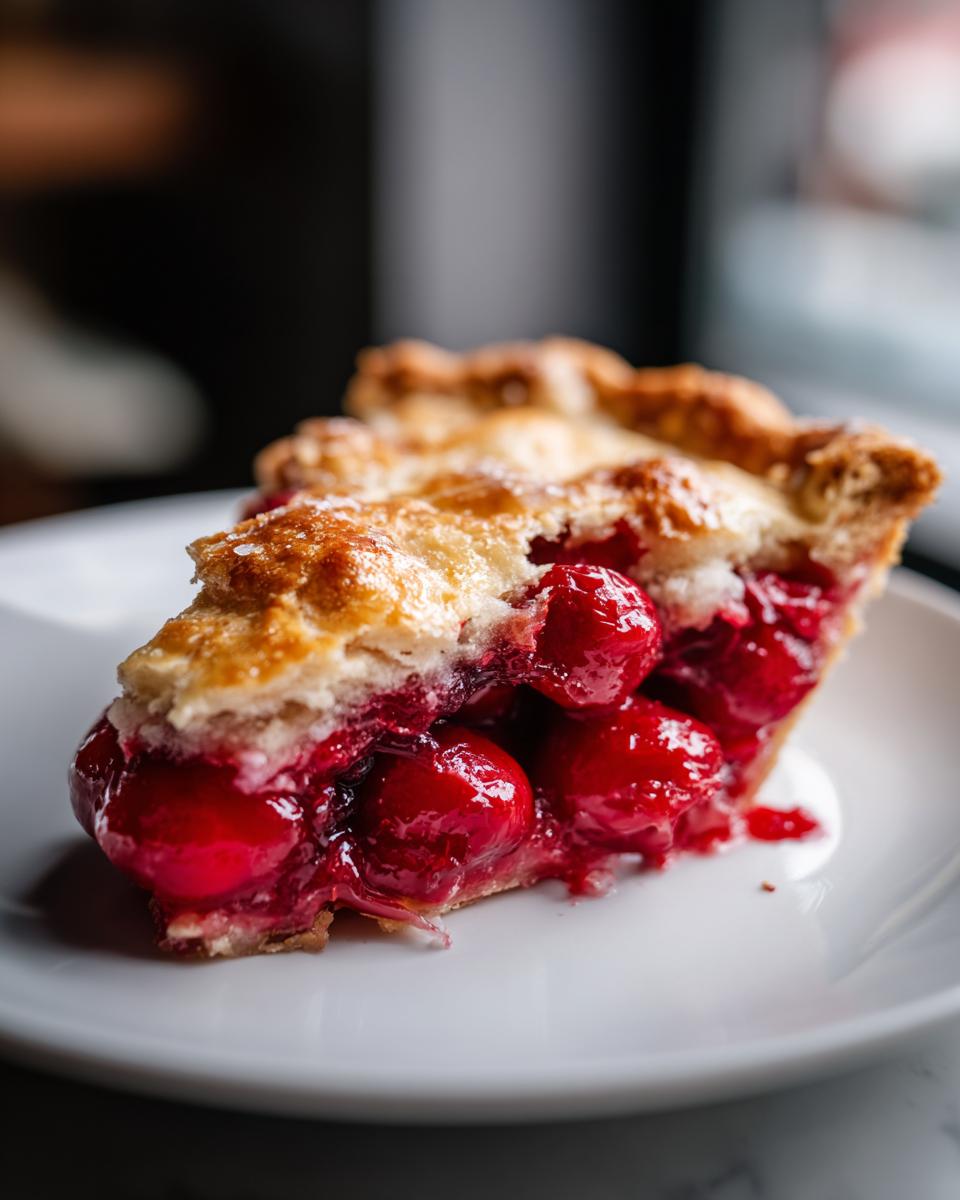
Step 6: Pop that beauty into the preheated oven and bake for 20 minutes at 400°F. Then, lower the temperature to 375°F (190°C) and let it bake for another 30-35 minutes. You’re looking for that crust to be a gorgeous golden brown and for the filling to be bubbly and thick. If the edges start getting too dark, you can always cover them with foil.
Step 7: This is probably the hardest part – you HAVE to let the pie cool completely on a wire rack. I know, I know, the smell is intoxicating, but if you slice into it too soon, all that delicious filling will run out. Patience, my friend, is a virtue, especially when pie is involved!
What to Serve with Your Tart Cherry Pie
This pie is pretty spectacular on its own, but a few little extras can make it even more special!
Vanilla Bean Ice Cream: You can’t go wrong with the classic! The creamy, cool vanilla is the perfect counterpoint to the warm, tart cherries. It’s a match made in dessert heaven.
Fresh Whipped Cream: Light, airy, and slightly sweet, a dollop of homemade whipped cream adds a lovely cloud-like texture and a hint of sweetness that complements the pie beautifully without being too heavy.
A Sprinkle of Toasted Almonds: If you’re a fan of that almond extract flavor, a little sprinkle of toasted slivered almonds on top adds a delightful nutty crunch and just takes the pie’s flavor profile up a notch.
Storage and Reheating Instructions for Tart Cherry Pie
Alright, the hardest part is done – you’ve probably devoured half the pie already! If, by some miracle, you have leftovers, storing them is super simple. Once your pie is completely cool (seriously, wait until it’s cool!), you can cover it tightly with plastic wrap or an upside-down cake dome and store it at room temperature for up to 2 days. If it’s going to be longer than that, or if your kitchen is warm, pop it into the fridge for up to 4 days. Honestly, it’s best eaten within the first day or two for that amazing flaky crust.
Reheating is easy peasy! For a single slice, just pop it on a baking sheet in a 350°F (175°C) oven for about 10-15 minutes until it’s warmed through and the crust is re-crisped. Microwaving is a bit of a no-no if you want to keep that crust lovely and flaky. This pie is also *fantastic* for making ahead of time for a special occasion – just let it cool completely, wrap it up well, and it’ll be ready when you are!
Frequently Asked Questions About This Tart Cherry Pie
Got questions about making The Best Tart Cherry Pie You Will Ever Make? I’ve got you covered!
Can I use sweet cherries instead of tart cherries for this pie?
While you *can* use sweet cherries, it won’t be quite the same! Tart cherries give this pie its signature delicious zing that balances the sweetness. If you’re set on sweet cherries, you might want to reduce the sugar a bit and maybe add an extra splash of lemon juice to mimic that tartness. But trust me, stick with tart cherries for the best flavor!
My pie crust always turns out soggy on the bottom. What can I do?
Oh, the dreaded soggy bottom! It’s a common pie problem. For this tart cherry pie, make sure your crust is chilled before you put the filling in, and try to bake it at that higher initial temperature (400°F) for the first 20 minutes. This helps set the bottom crust quickly. Also, making sure your filling isn’t too watery is key. And seriously, let it cool completely before slicing – that really helps the filling set up!
How do I know if my tart cherry pie filling is thick enough?
When you’re mixing the filling, that cornstarch is your best friend. The mixture should look nice and glossy, and you should be able to see the drag marks from your spoon. Once it’s baked and bubbly, and then *fully* cooled, it should have a nice, thick consistency that holds its shape when you slice it. If it just looks like watery juice, it might need a bit more cornstarch next time, or a longer bake time at the lower temp.
Enjoy Your Homemade Tart Cherry Pie!
I truly hope you give The Best Tart Cherry Pie You Will Ever Make a try! It’s a labor of love that’s so worth it. If you bake it, please come back and leave a comment or a star rating – I absolutely love hearing from you and seeing your pie-fection!
Print
The Best Tart Cherry Pie
- Total Time: 85 min
- Yield: 8 servings
- Diet: Vegetarian
Description
A classic tart cherry pie recipe with a flaky crust and a sweet-tart filling.
Ingredients
- 1 recipe for double pie crust
- 6 cups fresh or frozen tart cherries, pitted
- 3/4 cup granulated sugar
- 1/4 cup cornstarch
- 1 tablespoon lemon juice
- 1 teaspoon almond extract
- 1 tablespoon butter, cut into small pieces
- 1 egg, beaten (for egg wash)
- 1 tablespoon granulated sugar (for sprinkling)
Instructions
- Preheat your oven to 400°F (200°C).
- Line a 9-inch pie plate with one pie crust.
- In a large bowl, combine cherries, sugar, cornstarch, lemon juice, and almond extract. Stir gently to coat the cherries.
- Pour the cherry mixture into the prepared pie crust. Dot the top with small pieces of butter.
- Place the second pie crust over the filling. Trim and crimp the edges to seal. Cut vents in the top crust.
- Brush the top crust with the beaten egg wash and sprinkle with the remaining tablespoon of sugar.
- Bake for 20 minutes at 400°F (200°C).
- Reduce the oven temperature to 375°F (190°C) and continue baking for another 30-35 minutes, or until the crust is golden brown and the filling is bubbly.
- Let the pie cool completely on a wire rack before slicing and serving.
Notes
- If using frozen cherries, do not thaw them before using.
- For a deeper flavor, you can add a pinch of cinnamon or nutmeg to the filling.
- Ensure the pie is completely cool before slicing to prevent the filling from running.
- Prep Time: 30 min
- Cook Time: 55 min
- Category: Dessert
- Method: Baking
- Cuisine: American