There’s nothing quite like pulling a hot, bubbling dish out of the oven on a chilly evening. That warm, sweet scent just wraps around you like a favorite blanket, right? That’s exactly the feeling I chase when I make a classic Blueberry Crisp. For me, cooking has always been about creating those moments of simple, unpretentious comfort. I’m Daniel, and I started Reciqa because I truly believe that the best food doesn’t need complicated steps—it just needs love. This easy Blueberry Crisp is the epitome of that philosophy; it’s pure, baked goodness ready in under an hour.
When the summer blueberries are bursting with flavor, or when you just need a dessert that feels like a hug, this recipe is my go-to. It’s one of those foundational American desserts that just sticks with you. Forget fussy pies; this simple, buttery crumble topping over sweet fruit is what happy weeknights are made of. Let’s get baking!

Gathering Your Ingredients for the Perfect Blueberry Crisp
Okay, getting ready for this amazing Blueberry Crisp is almost as much fun as eating it! Since this dessert is so simple, the quality of what you put in really shines through. We need two main groups of ingredients: the sweet, juicy filling and that glorious, buttery topping. Don’t worry about running to the fancy store; these are all pantry staples, but precision matters, especially when we’re dealing with that perfect crumble!
I always lay everything out on the counter before I even touch the oven thermometer. It helps me make sure I don’t forget that tiny pinch of salt or the vanilla extract that makes the topping sing. Trust me, you want everything measured and ready to go!
Blueberry Filling Components
For the base of our Blueberry Crisp, we want the berries to be coated just enough so the juices thicken up nicely while baking, but not so much that it turns gummy. You’ll need about four cups of fresh blueberries—give them a gentle rinse if they aren’t already clean. Then, we toss them with just two tablespoons of all-purpose flour and two tablespoons of granulated sugar. The flour is essential here; it’s our secret weapon for turning those lovely berry juices into a thick, spoonable sauce.
Crumb Topping Essentials for Blueberry Crisp
This is where the magic happens for our Blueberry Crisp! For the topping, we need one cup of sifted flour, about half a cup of cold butter, one cup of sugar, half a teaspoon of salt, and half a teaspoon of baking powder. Don’t forget the vanilla extract—it adds such a warm depth! When you mix this together, it should look like coarse, sandy pebbles—that’s the texture we are aiming for before it hits the oven.

Equipment Needed for Baking Your Blueberry Crisp
You don’t need a huge setup for this wonderful Blueberry Crisp, thank goodness! You’ll want a large mixing bowl for tossing the berries and another one for making that fantastic topping. Make sure you have an 8 by 8 inch baking dish handy—buttered up, of course! A pastry blender is my favorite tool for the topping, but if you don’t have one, your fingers or two forks work just fine in a pinch.
Step-by-Step Instructions to Make Blueberry Crisp
Now for the fun part! We are going to turn those measured ingredients into a bubbling, golden dessert. Remember, this whole process moves pretty quickly once you get going, so make sure your oven is warming up while you tackle the fruit base. We need that 375 degrees F heat waiting for us!
Preparing the Fruit Base
Take your four cups of blueberries and pop them right into that large mixing bowl. This is where you sprinkle on the two tablespoons of flour and the two tablespoons of sugar designated for the filling. Now, use a big rubber spatula or even your clean hands to gently toss everything together. You want every single berry lightly dusted. We aren’t bruising them, just coating them! Once they look nicely coated, pour this mixture evenly into your buttered 8 by 8 inch baking dish. Make sure it’s spread out flat—no big blueberry mountains allowed!
Crafting the Crumb Topping Mixture
Time for the crumble! In your second bowl, we combine the dry topping ingredients: the sifted flour, sugar, salt, and baking powder. Now, cut in that cold butter. If you’re using a pastry blender, work it quickly until the mixture resembles coarse crumbs, like tiny peas or coarse cornmeal. This is important—we don’t want the butter to get warm! Once it’s crumbly, stir in that half teaspoon of vanilla extract. That little bit of vanilla really wakes up the flavor in this Blueberry Crisp topping, so don’t skip it!
Assembling and Baking the Blueberry Crisp
Take that beautiful, buttery crumble and sprinkle it evenly over the layer of sugared blueberries. Don’t press it down! We want it loose and airy so it can toast up nicely. Pop the dish into your preheated 375 degree oven. Set a timer for 45 minutes to start. You’ll know your Blueberry Crisp is done when the topping is a rich, deep golden brown and you can see the blueberry juices bubbling up furiously around the edges. If it’s not quite golden after 55 minutes, just let it ride for another five. Once it’s out, let it cool on a wire rack for at least 30 minutes. This resting time is crucial; it lets those juices set up so you aren’t serving soup!
Pro Tips for an Amazing Blueberry Crisp
I’ve made this Blueberry Crisp so many times over the years, and I’ve learned a few tricks to make it absolutely perfect every single time, even when I’m missing an ingredient or trying to tweak it for a healthier version. The beauty of a crisp is its flexibility! If you want to skip the refined sugar, using coconut sugar is a fantastic swap that deepens the caramel flavor in the topping. And for those avoiding dairy, using coconut oil instead of butter works shockingly well in the crumble. It’s all about adapting comfort food!
Ingredient Swaps and Variations
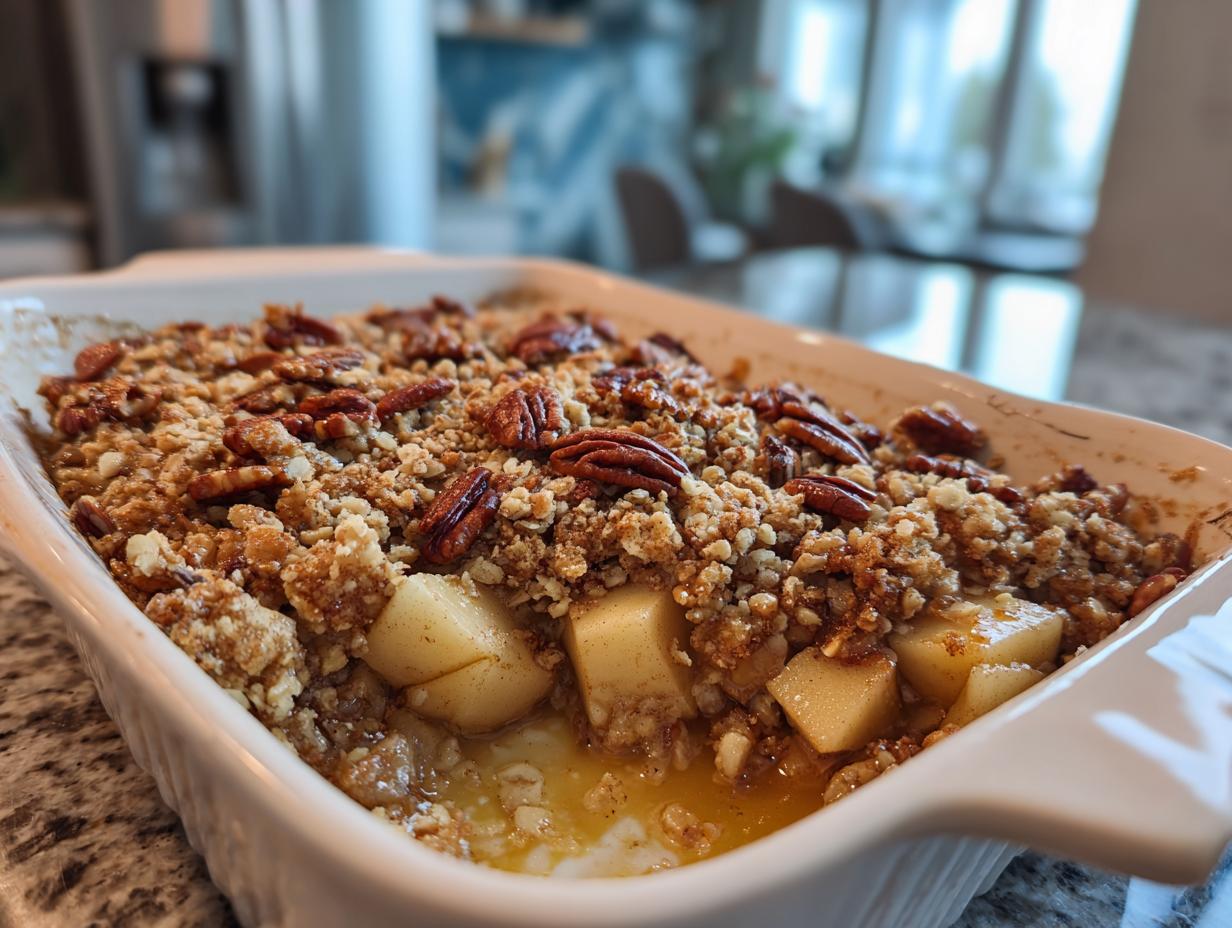
If you’re out of blueberries, don’t panic! This method works like a charm with almost any soft fruit. If you decide to swap in apples—which I love to do in the fall—make sure you peel and slice them thin, and definitely add about half a teaspoon of cinnamon to that fruit filling. Also, if you happen to have some chopped nuts or shredded coconut lying around, toss them into the topping mixture before baking; it adds such a lovely crunch to the final Blueberry Crisp.
Achieving the Ideal Topping Texture
The topping is everything, right? If you want a gluten-free version, swap the wheat flour for almond flour, but remember you’ll need less of it in the filling—just one tablespoon of cornstarch does the trick there. When you’re working the butter into the dry ingredients for the crumble, remember the goal is just coarse crumbs. If you overwork it, you’ll end up with a dense layer instead of a light, crisp topping over your beautiful Blueberry Crisp. Go slow, and stop mixing as soon as it looks like wet sand.

Frequently Asked Questions About Blueberry Crisp
I get so many questions about this simple Blueberry Crisp recipe because everyone wants that perfect balance of juicy fruit and crunchy topping. Here are some of the most common things folks ask me when they are trying this baked fruit dessert for the first time!
Q1. Can I make this Blueberry Crisp ahead of time?
You certainly can! You can assemble the whole thing—berries in the pan, topping crumbled over them—and cover it tightly with plastic wrap. Keep it in the fridge for up to a day. Just add about 10 to 15 minutes to your baking time since it will be going into the oven cold. It still comes out delicious!
Q2. My topping seems too dry/sandy. What did I do wrong?
That usually means you mixed the topping too much, or maybe your butter wasn’t cold enough when you started. If it’s too sandy before baking, try adding just a teaspoon of cold water or a tiny bit more melted butter to help it hold together when you sprinkle it over the fruit. We want it to clump a bit!
Q3. Can I use frozen blueberries instead of fresh ones in this crisp?
Absolutely! Frozen berries are great, especially if fresh ones aren’t in season. The main thing is not to thaw them first. Dump them straight from the freezer into the bowl, sprinkle with the flour and sugar, and toss gently. You might need to add 5 minutes to the total baking time for the Blueberry Crisp since the fruit starts out colder.
Q4. What is the best way to serve this sweet treat?
Honestly? Piping hot with a scoop of vanilla bean ice cream melting right down the side is unbeatable. If you want something a little lighter, a dollop of freshly whipped cream or a drizzle of crème fraîche cuts through the sweetness perfectly. It’s wonderful warm or even completely cooled! For more dessert inspiration, check out these desserts.
Serving Suggestions for Your Baked Fruit Dessert
When that Blueberry Crisp comes out of the oven, golden and smelling incredible, you have to serve it right! It’s fantastic all by itself, but I always keep vanilla ice cream around because that contrast between the hot, tart berries and the cold, sweet cream is just heaven. A dollop of thick Greek yogurt is a great choice too, especially if you want something a little tangier to balance the sweetness of that perfect crumble topping.
Storing and Reheating Leftover Blueberry Crisp
It’s rare that we have leftovers of this delicious Blueberry Crisp, but when we do, storing it correctly is key so the topping doesn’t get soggy overnight. You don’t want to ruin that hard-earned crisp texture! The best way to save it is to let it cool completely on the counter first. Never put a hot dish into the fridge; that just creates steam and mush!
Storage and Shelf Life Guidelines
Once completely cooled, you have two options. You can cover the baking dish tightly with plastic wrap and foil, or, for the best results, transfer the crisp to an airtight container. Store it on the counter if you plan to eat it within 24 hours, but for longer storage, the refrigerator is the place to be. It stays good for about three to four days.
| Storage Location | Container Type | Shelf Life |
|---|---|---|
| Countertop | Airtight Container | Up to 1 Day |
| Refrigerator | Airtight Container | 3-4 Days |
Reheating Methods for the Perfect Bite
To bring back that fresh-from-the-oven glory for your Blueberry Crisp, the oven is your best friend. Pop a serving onto an oven-safe plate and bake it at 350 degrees F for about 8 to 10 minutes until it’s warmed through and the top is crunchy again. If you are in a real hurry, the microwave works, but be warned: the topping will soften up quite a bit. Five to ten seconds is usually plenty in the microwave if you’re just trying to warm up a single portion.
Sharing Your Blueberry Crisp Experience
I really hope you take a moment to try this easy Blueberry Crisp soon! It’s such a simple recipe, but it brings so much joy to my kitchen, and I’d love to hear how it turns out for you. Did you use coconut oil? Did you add nuts to the topping? Let me know in the comments below, and please leave a rating if you loved this sweet treat! For more simple baking ideas, check out my guide on simple gluten free snickerdoodle cookies.
Print
Amazing Blueberry Crisp: 1 Recipe Secret
- Total Time: 65 minutes
- Yield: 6 servings
- Diet: Vegetarian
Description
Blueberry Crisp is a simple, comforting dessert featuring sweet blueberries topped with a buttery, crumbly topping. This recipe provides an easy way to enjoy fresh fruit baked to golden perfection.
Ingredients
- 1 cup sifted flour
- ½ cup butter
- 1 cup sugar (granulated)
- ½ teaspoon salt
- ½ teaspoon vanilla extract
- ½ teaspoon baking powder
- 4 cups blueberries
- 2 tablespoons flour (for filling)
- 2 tablespoons sugar (for filling)
Instructions
- Preheat your oven to 375 degrees F.
- Place the blueberries in a large bowl. Sprinkle 2 tablespoons of flour and 2 tablespoons of sugar over the berries. Toss the blueberries to coat them evenly with the flour and sugar.
- Place the coated blueberry mixture into a buttered 8 by 8 inch baking dish.
- For the crisp topping, cream together the flour, butter, sugar, salt, and baking powder using a pastry blender.
- Stir the vanilla extract into the creamed topping mixture.
- Sprinkle the crumbled topping evenly over the blueberry mixture in the baking dish.
- Place the baking dish in the preheated oven and bake for 45 to 55 minutes.
- The topping is ready when it turns golden brown.
- Transfer the baked crisp to a wire rack. Let it cool for 30 minutes before serving.
Notes
- To reduce calories, substitute sugar with Swerve.
- Consider using coconut sugar instead of refined granulated sugar for a lower glycemic index option.
- Coconut oil is an alternative to butter for those avoiding animal products.
- For a gluten-free topping, replace wheat flour with almond flour. Replace the 2 tablespoons of flour in the filling with 1 tablespoon of cornstarch.
- This crisp method works with various soft fruits. If using apples, peel and slice them thinly; add ½ teaspoon of cinnamon to the apple crisp filling.
- Add chopped nuts or shredded coconut to the crumble topping for extra flavor.
- For an oat topping, replace half the flour with oatmeal. Blend the oats and flour with butter, sugar, and baking powder, then stir in vanilla extract.
- Prep Time: 15 minutes
- Cook Time: 50 minutes
- Category: Dessert
- Method: Baking
- Cuisine: American